[ 原创 ] 美化ThinkPHP模板
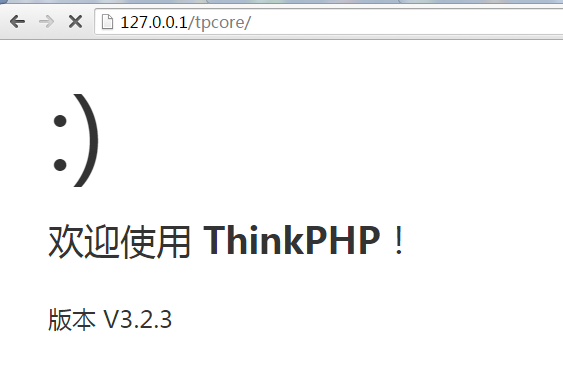
首先我们来看看Thinkphp的模板,
成功界面:
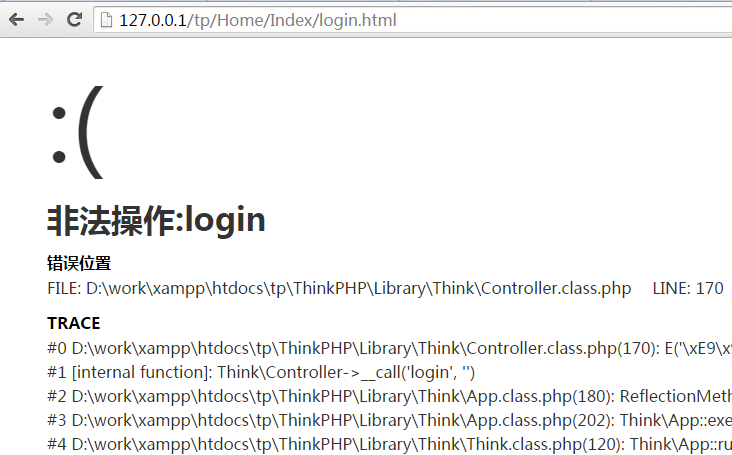
错误页面
说到美化的话,我们需要先找到这个模板在那里
ThinkPHP/Tpl/dispatch_jump.tpl
然后我们修改这里面的代码就行的。下面的模板是我自己项目修改用的。大家也可以用AJAX加载的。
<!DOCTYPE html PUBLIC "-//W3C//DTD XHTML 1.0 Transitional//EN" "http://www.w3.org/TR/xhtml1/DTD/xhtml1-transitional.dtd">
<html xmlns="http://www.w3.org/1999/xhtml">
<head>
<meta http-equiv="Content-Type" content="text/html; charset=utf-8" />
<title>跳转提示</title>
<style type="text/css">
*{ padding: 0; margin: 0; }
body{ background: #fff; font-family: '微软雅黑'; color: #333; font-size: 16px; }
.system-message{ padding:0 0 48px;margin:150px auto;width:400px;border:5px solid #ccc;}
.system-message h3{ font-size: 50px; font-weight: normal; line-height: 120px; margin-bottom: 12px;border:1px solid #ccc}
.system-message .jump{ padding-top: 10px}
.system-message .jump a{ color: #333;}
.system-message .success,.system-message .error{ line-height: 1.8em; font-size: 23px ;text-align: center;}
.system-message .detail{ font-size: 12px; line-height: 20px; margin-top: 12px; display:none}
</style>
</head>
<body>
<div class="system-message">
<p style="height:35px;background:url(__PUBLIC__/Img/msg_top_bg.png) #ccc;padding-left:10px;line-height:35px;color:white">温馨提醒</p>
<div style="padding:24px;">
<present name="message">
<div class="success"><img style="margin-right: 9px;padding-top:10px;" src="__PUBLIC__/Img/success.png"><span><?php echo($message); ?></span></div>
<else/>
<div class="error"><img style="margin-right: 9px;padding-top:10px;" src="__PUBLIC__/Img/error.png" style="cursor:pointer;"><span style="padding-top:0px;"><?php echo($error); ?></div>
</present>
</div>
<p class="detail"></p>
<div class="jump" style="float:right;padding-right:5px;">
页面自动 <a id="href" href="<?php echo($jumpUrl); ?>">跳转</a> 等待时间: <b id="wait"><?php echo($waitSecond); ?></b>
</div>
</div>
<script type="text/javascript">
(function(){
var wait = document.getElementById('wait'),href = document.getElementById('href').href;
var interval = setInterval(function(){
var time = --wait.innerHTML;
if(time == 0) {
location.href = href;
clearInterval(interval);
};
}, 1000);
})();
</script>
</body>
</html>
然后把下面的三张图片放在Public/Img下面,就可以调用了。直接右键另存为。


来看看修改后的弹窗

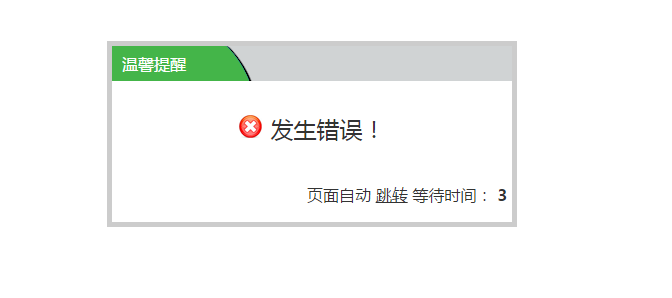
不过在我的博客中,我没有用到,我用的是404错误页面。需要的话也可以直接另存为的。 。
。
还有问题可以留言告诉我,谢谢。
上一篇: 编程入门指导...
下一篇: ThinkPHP三大自动初接触...
